Okta SAML SSO
How to create an Okta application to connect to the Nebulock portal via Single Sign On (SSO).
Refer to Okta documentation to create integration applications.
Provide your Allowed Domain for SSO to the Nebulock team.
The Nebulock team will provide you with the following:
- An Audience URI
- An ACS URL
Log into Okta with an account that has administrative privileges, and navigate to the Admin Console. From the there, navigate to Dashboard -> Applications.
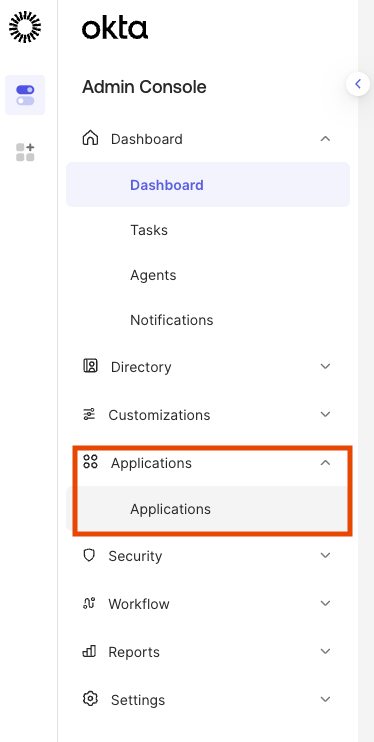
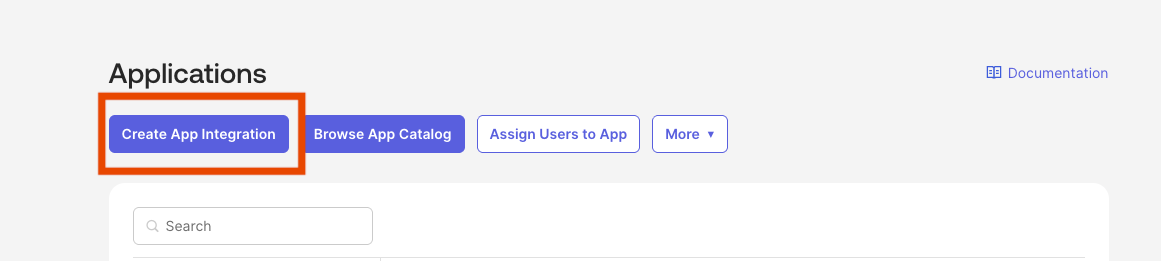
Then click Create App Integration.
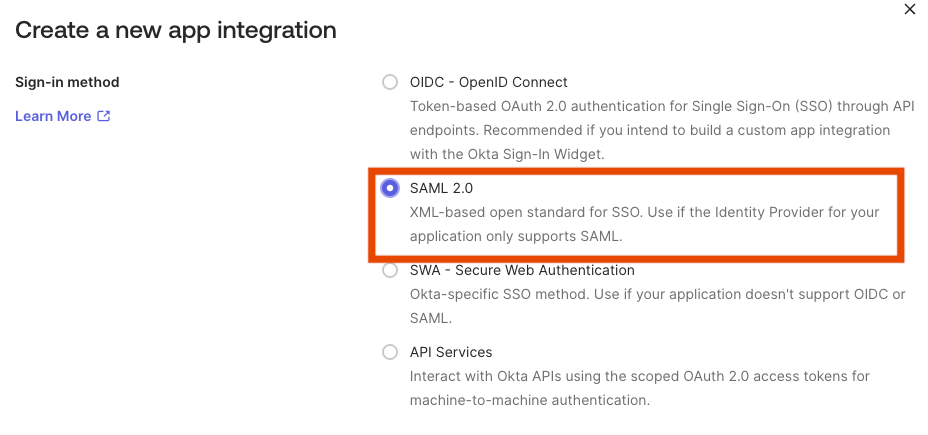
Select SAML 2.0 and continue.
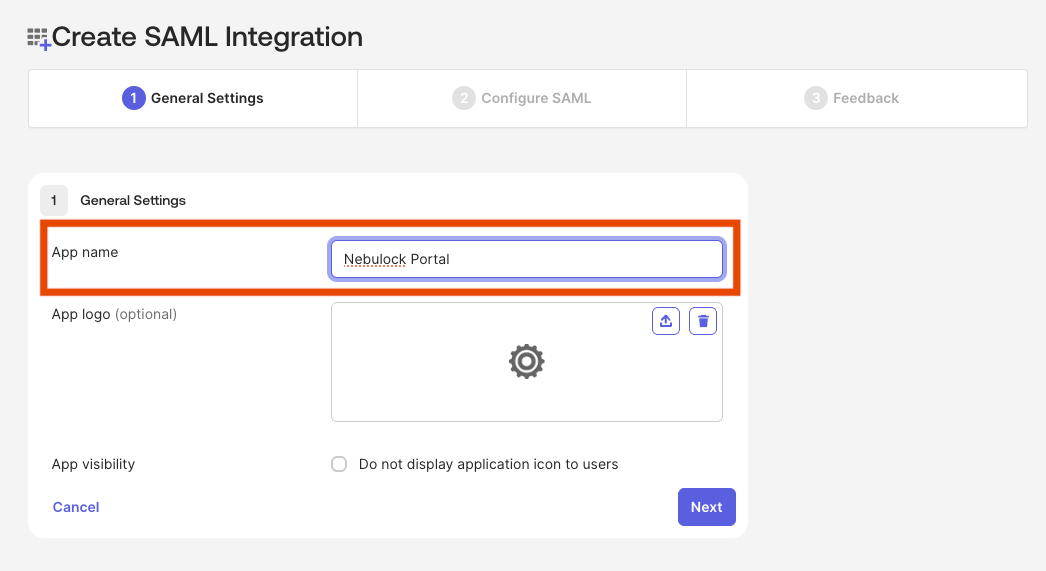
Give the application a name (e.g. Nebulock Portal) and continue. Optional: You can request the Nebulock Icon to add as the app logo.
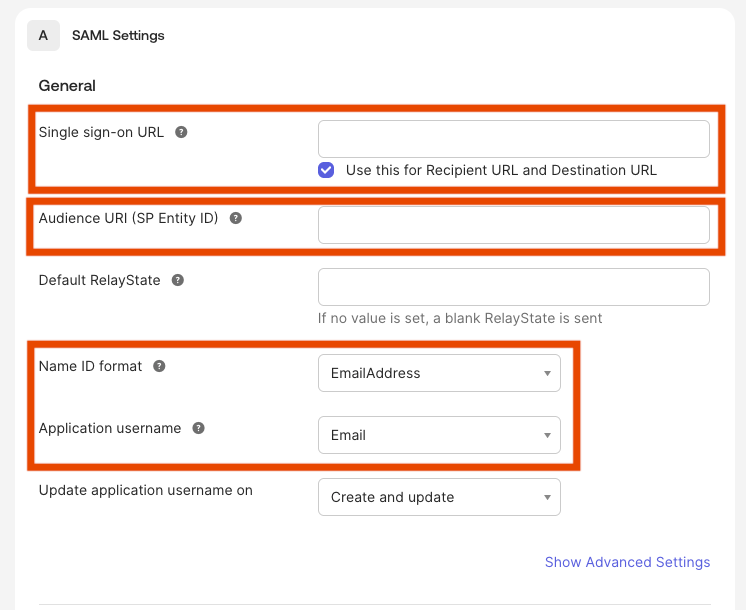
SAML Settings should have the following information entered:
- For Single sign-on URL, set the value to the ACS URL provided to you by Nebulock.
- For Audience URI (SP Entity ID), set the value to the Audience URI provided to you by Nebulock.
- Name ID format: Set to EmailAddress.
- Application username: Set to Email.
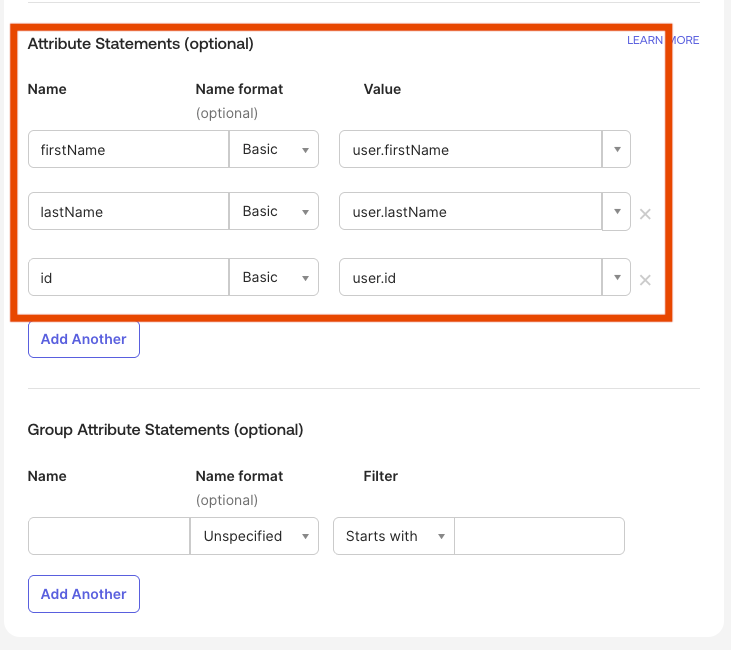
Attribute Statements needs the following statements:
- Name: firstName | Name Format: Basic | Value: user.firstName
- Name: lastName | Name Format: Basic | Value: user.lastName
- Name: id | Name Format: Basic | Value: user.id
Once these fields are completed, click Continue to finish creating the application.
You'll be redirected to the details of the new application on the Sign On tab, which will have a Metadata URL to copy (you can reference back to this URL later if needed).
Share the Metadata URL along with the email domains that you use in Okta for user accounts to the Nebulock team via Slack or email to complete the Okta integration.
Once the Nebulock team has confirmed the integration is completed, you will be able to use Okta to log into the Nebulock portal.
To allow organization users to use Okta SSO to access the Nebulock portal, add them to the Nebulock application under the Assignments tab in Okta.